
Need a fun and quick art project to do with your kiddos? I did this pumpkin piece with my students, but you could easily do this same project for any season or holiday with any subject matter!
Here’s what you will need:
• Heavyweight paper (card stock, watercolor paper or multi-media paper)
• Pencil and eraser
• 1 piece of light color chalk, but not white (yellow works great!)
• Oil Pastels (or crayons will work, but the colors will be less vibrant)
• Watercolors and paintbrush (only black watercolor will be used for this, and a large brush is best)
Here’s what you will do:
1. Draw a pumpkin, or anything you want on your paper with pencil. It’s good to fill the page with your item or items.
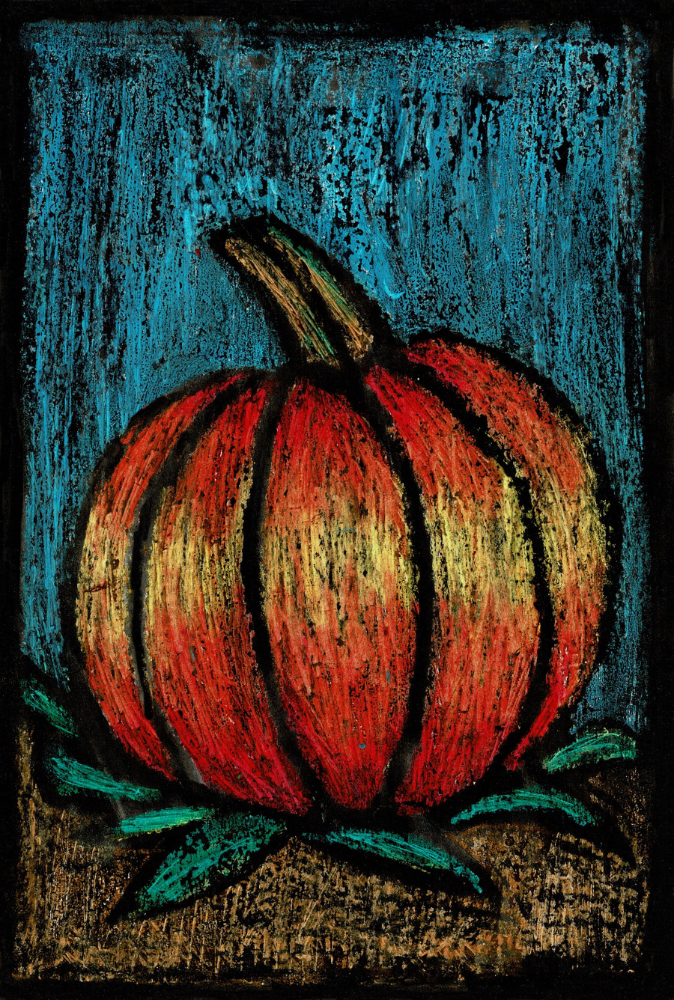
2. Trace over all of your pencil lines with your piece of chalk. (The chalk will not show when it’s done. The chalk lines will end up being black when we do the watercolor step. So if you look at my example, all the black lines you see outlining the shapes were my chalk lines. If you don’t have any chalk, you could just carefully leave a white gap around your pencil lines when you color in the next step.)
3. Use oil pastels to color the shapes between the chalk lines. Try not to color over the chalk lines. Your oil pastel layer needs to be very thick and heavy. If you don’t do it heavy enough, too much of the black paint on the final step will soak into the paper, and you won’t see very much of the colors of the oil pastels.
When it’s dried, if you feel like the black watercolor covered the oil pastel areas, you can take a firm or hard item, such as a popsicle stick, end of a paintbrush or ruler, and use that item to scrape off some of the black. The vibrant colors of your oil pastel layer should now show through and the black that soaked into the paper will make very nice outlines and give it an antiqued look.
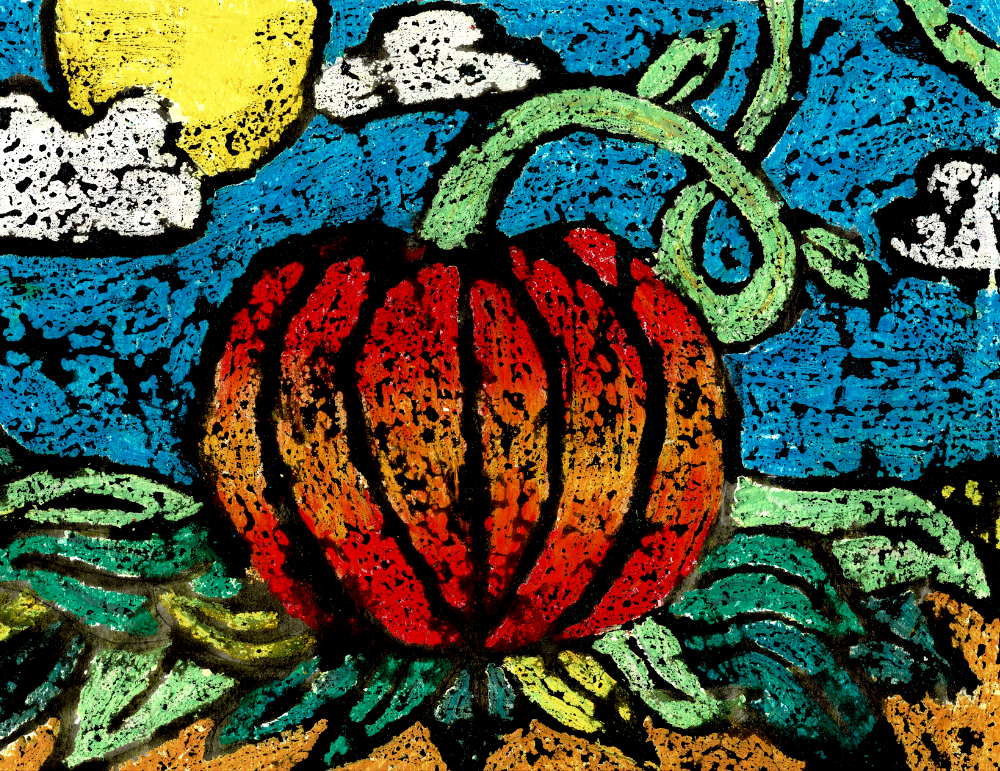
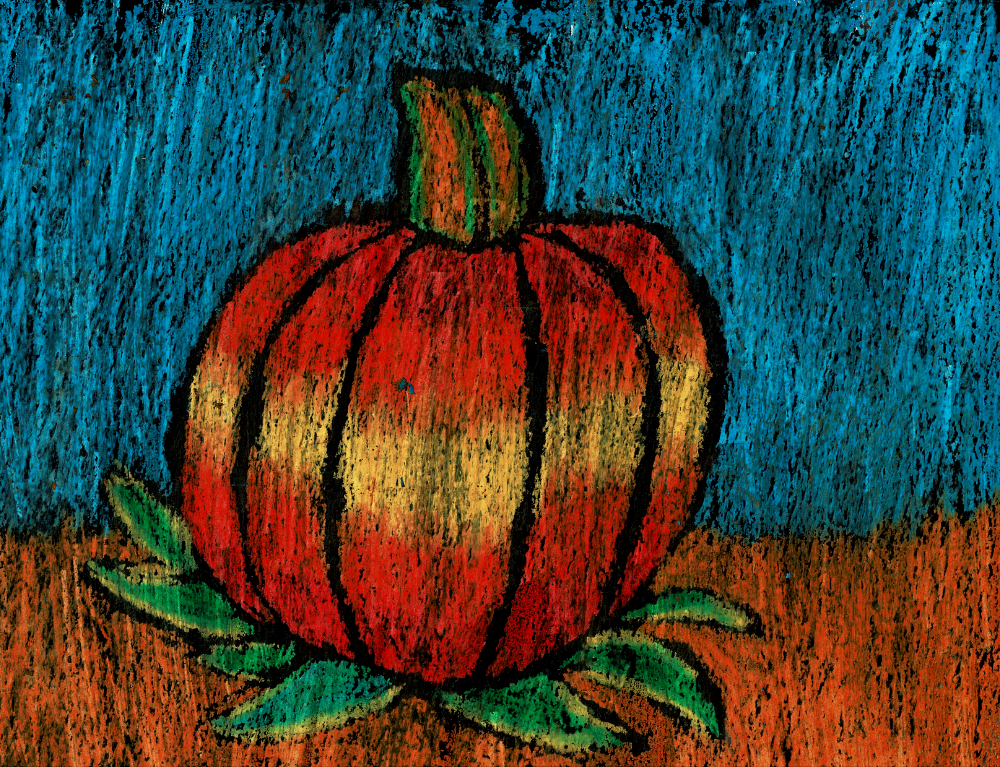
Here are a couple of my students’ pieces. They turned out so great!
Sorry, comments are closed for this post.